Guided Rods Tutorials

Detailed Instructions:

Start with the coarse (blue) rod.
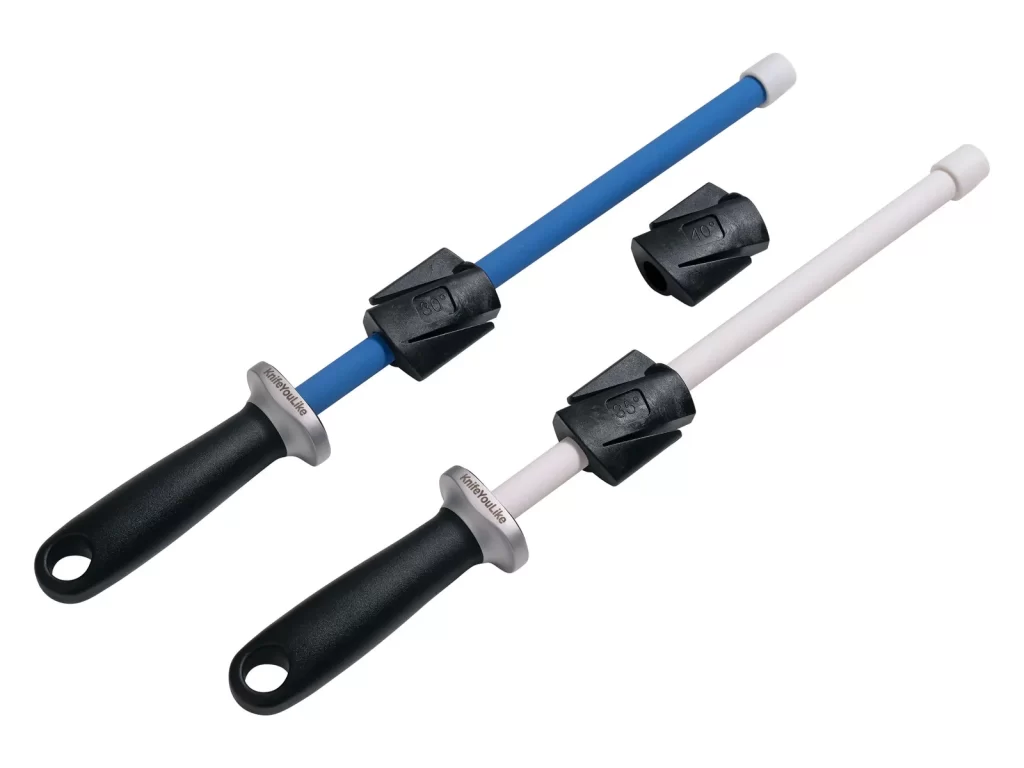
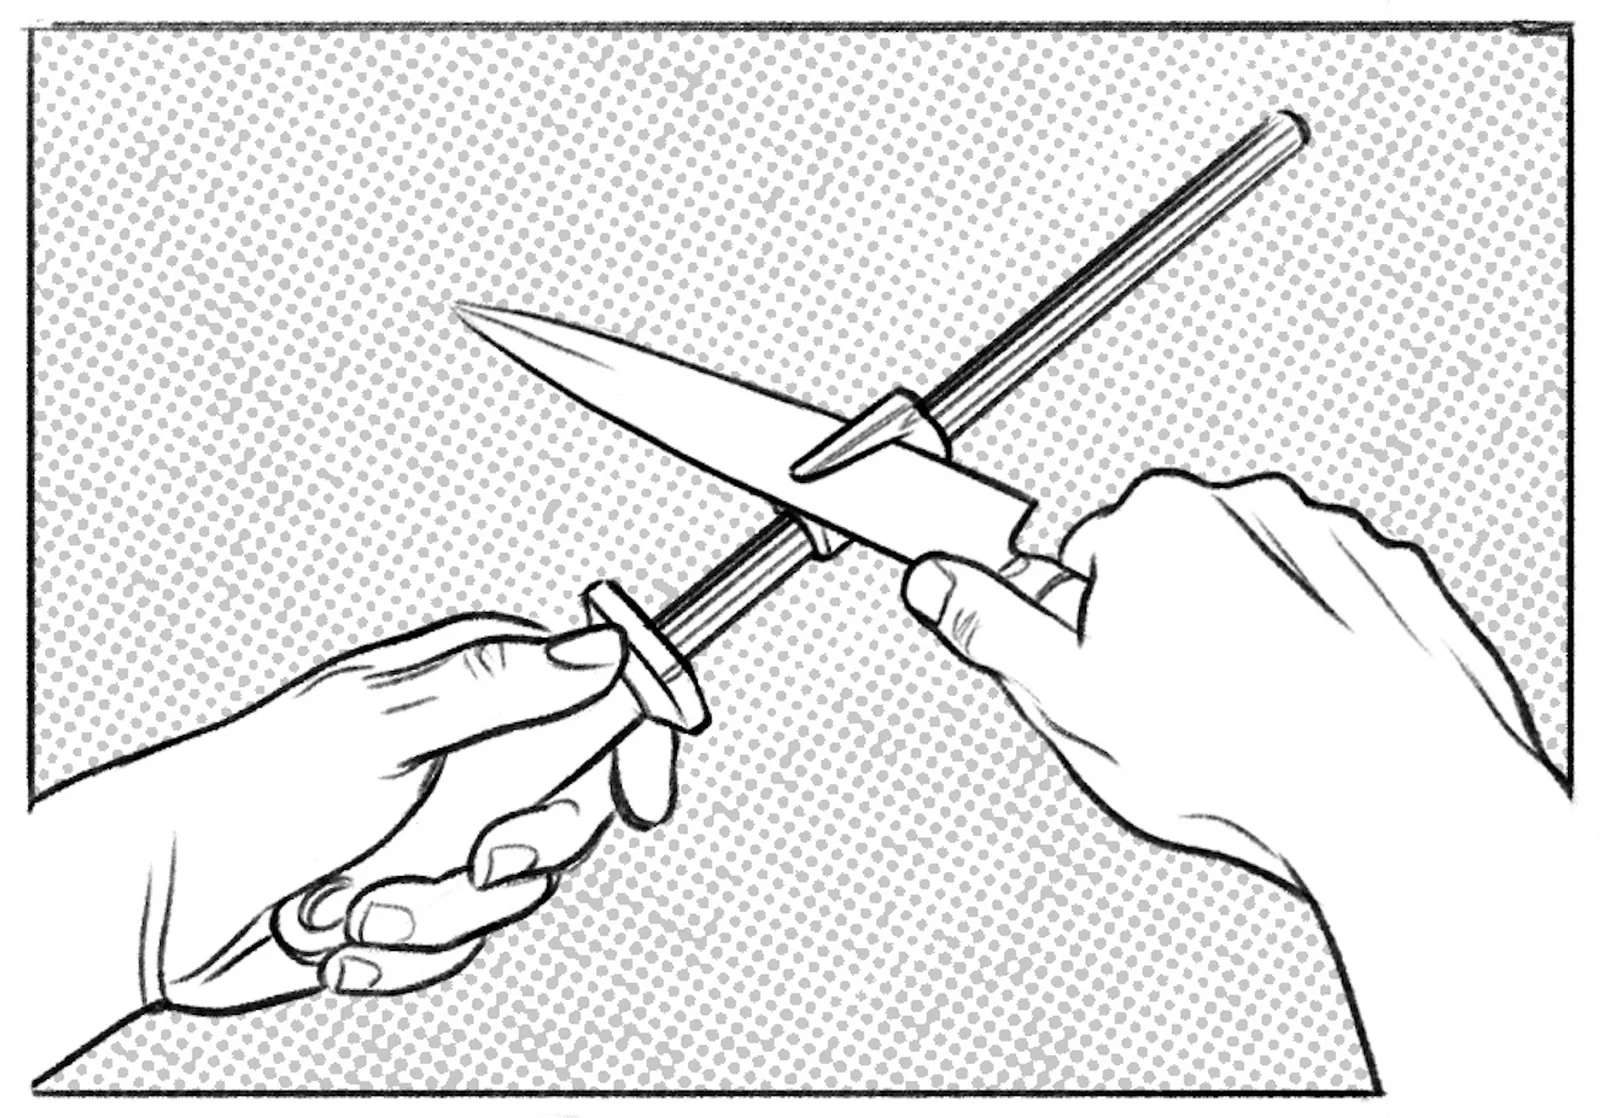
If you are right-handed, hold the rod in your left hand with your thumb on the left side of the guard. Keep the rod horizontal and place the angle guide on the rod so that the numbers and logo are correctly positioned (not upside down). If you are left-handed, hold the rod in your right hand, making sure the numbers and logo are not upside down.
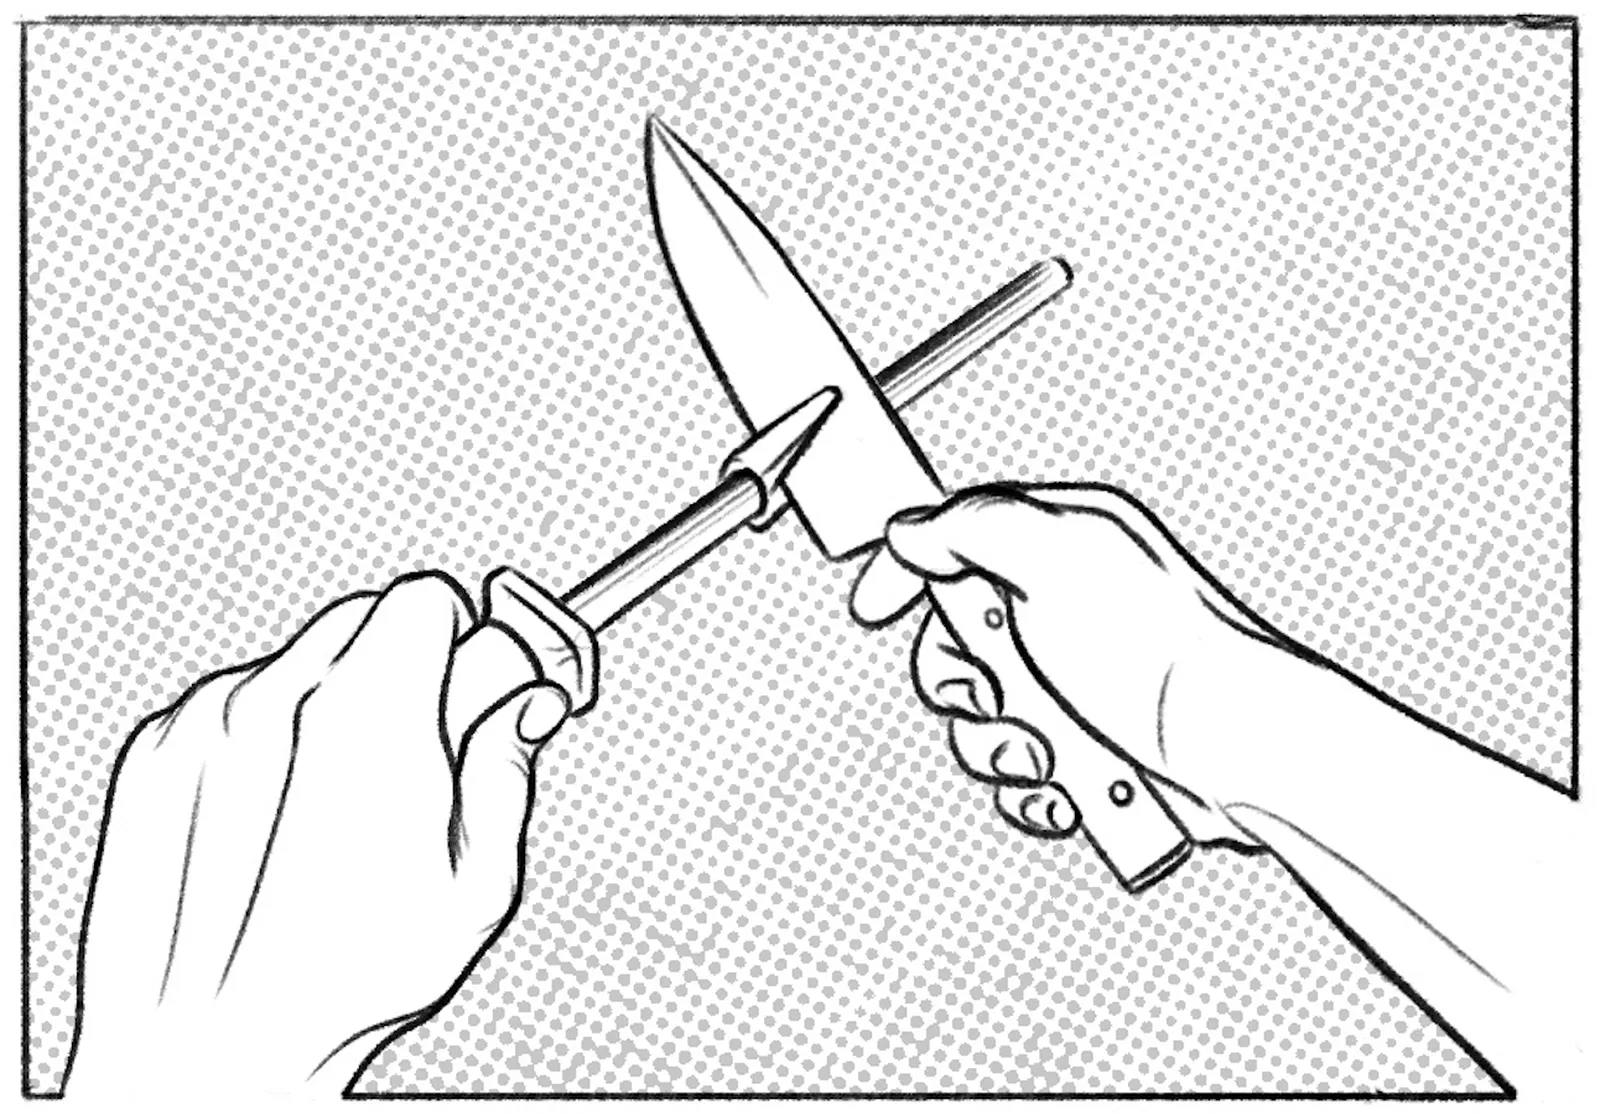
Place the knife blade into the angle guide so that the cutting edge touches the surface of the rod and the spine rests against the upper part of the cutout.
Starting from the heel of the blade, push the knife forward along the rod until you reach the tip of the knife.
While sliding the knife along the rod, hold it at an angle of approximately 120–140° relative to the rod.
This makes the sliding motion easier, especially if your rod is brand new and its surface is still very rough.
Rotate the rod 180° around its axis so that your thumb is on the right side of the guard. Insert the blade into the angle guide again and repeat the sliding motion from the opposite side. The spine of the knife should always rest against the upper part of the cutout.
Sharpen the knife this way using the coarse (blue) rod until it cuts paper. Then switch to the fine (white) rod together with an angle guide set to a larger angle. This removes the coarse scratches left by the blue rod, producing a smoother and longer-lasting cutting edge.
When using the fine rod, apply only light pressure and gradually reduce it to a minimum as you finish sharpening.
Check the sharpness by cutting a sheet of thin paper. The cut should be smooth, quiet, and effortless.

🎥 Video Tutorial

This site is registered on wpml.org as a development site. Switch to a production site key to remove this banner.